A while ago Kali Linux was released by offensive security. Kali Linux is the successor of the broadly known pentest distribution BackTrack. More info on Kali Linux can be found on www.kali.org.
As I was curious about the new look and feel I started to create a VM with VirtualBox and install Kali Linux to it.
I choose to start with the 32 bit version, cause I still need a fully installed Windows to update the BIOS of my actual working machine.
But 3 GB Ram, 1 core and 30 GB of disk space should fit the needs very well.
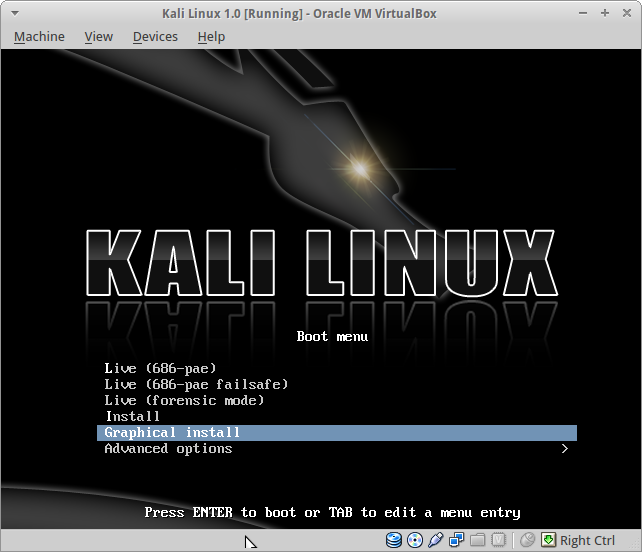
Starting the VM you get a warm welcome with the boot menu.

Let’s choose “Graphical install” for now.
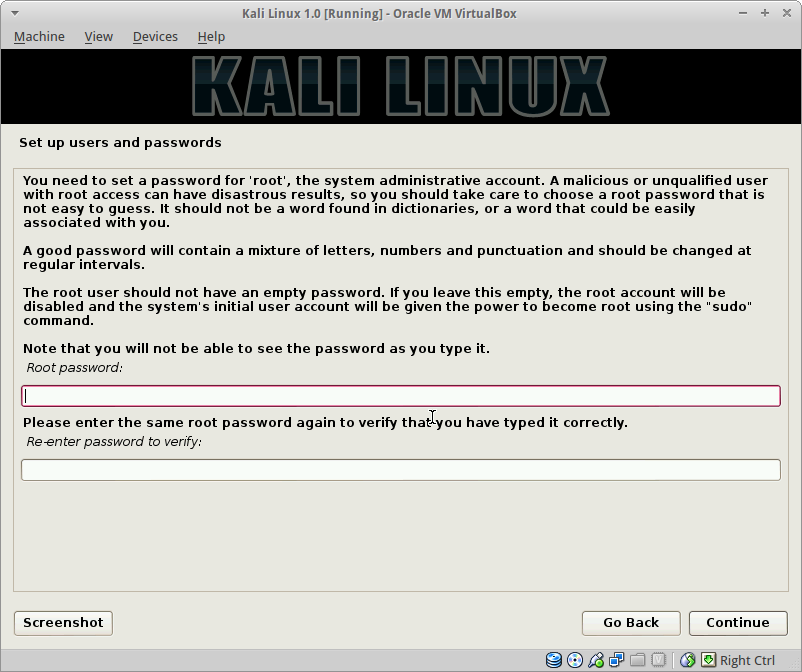
Having this choose a standard and not untypical installer process guides you through the setup of language, keyboard setting and so on. After giving the machine a hostname and domain where it is located in, the first “I like” moment appeared. You now have to set the root password within the install process.

To be honest… everyone dealing with a distribution made for pentesting should know that the default password has to be changed immediately and everyone dealing with a distribution made for pentesting should at least know how to google the needed command to change the root password … BUT how many of you have never ever run a backtrack machine with the root password “toor” ?
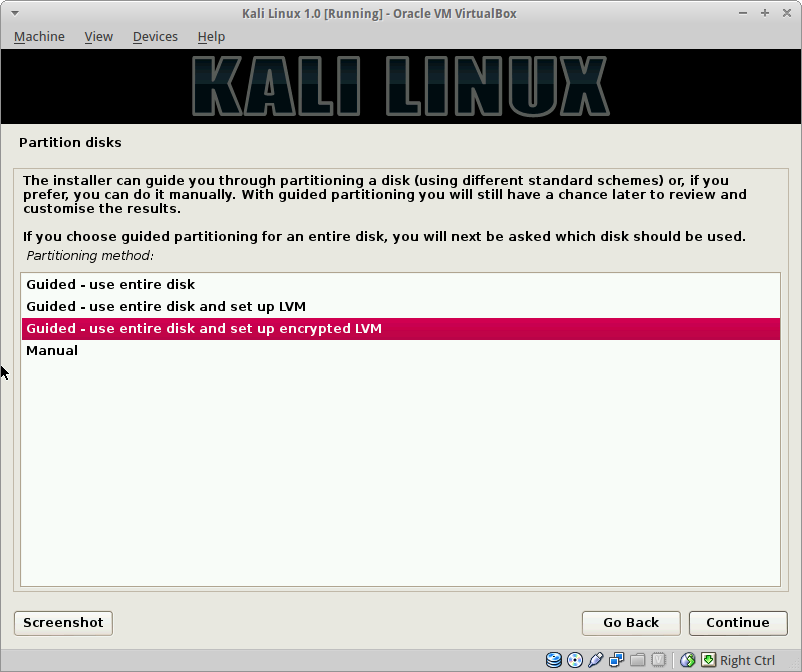
The next step brings me to the next “I like” moment. It is now a standard option to use encrypted LVM partitions. Very convenient!

So we go for it, choose to put all files in one partition and save the new partition schemata to the disk.
Now we start waiting until the disk is fully erased. This took a bit longer than I expect, but after two “I like” moments so far, I don’t want to start complaining about peanuts. 30 GB of disk space needed nearly 90 minutes. You will be able to skip this step over by hitting the cancel button. I tried it without having any problems further on.
Afterwards you set your full disk encryption password and the installer guides us through the rest of the installation process. Nothing unusual or surprising.
And TADA…… nope that is not a running VM with Kali Linux.
It is a VM starting up and throwing errors. I then tried to install Kali Linux several times without success and a bit of time went through. A few weeks later I got another day with enough motivation to work again on my VM problem.
I started to google around and found a blog post on raidersec.blogspot.co.at describing how to install Kali Linux on VirtualBox. At the end of the blog post the solution was described.
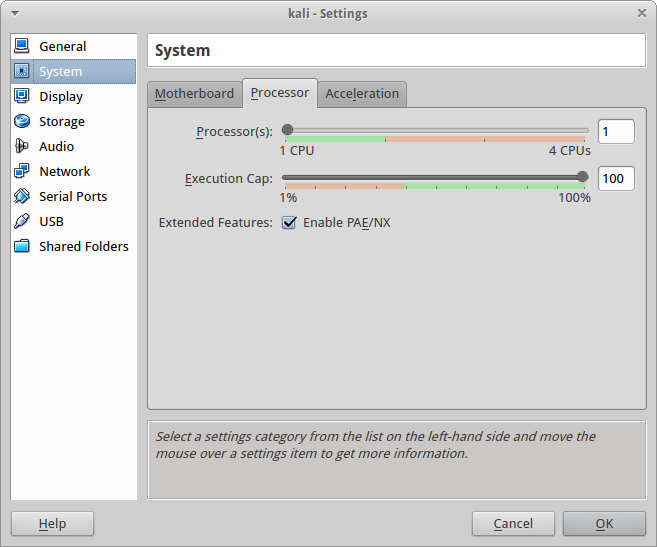
You simple need to check one box that seems to be not activated by default. If you right click on your brand new VM, hit settings and select the “System” entry you will see a tab called “Processor”. Activate the “Processor” tab and check the box called “Enable PAE/NX”.

Save the settings and start your VM. It should now start without errors and present a login screen. I the end I would recommend to create the VM, enable PAE/NX and start to install the system afterwards.